
If you’ve ever painted anything fabric, you know that the results can be mixed.
Sometimes, it turns out ok, but other times it ends up a crackly, cakey mess after a few hours.
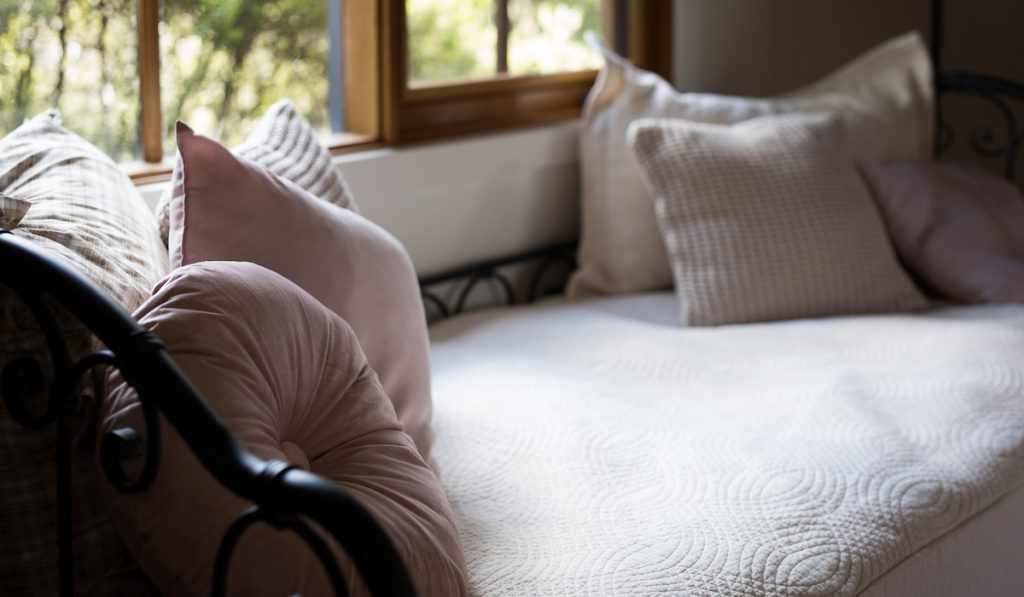
Can you paint a fabric piece of furniture and keep it soft?
Yes, definitely.

But it takes the right preparation and proper technique to get a good long-term result.
The last thing you want is a chair or couch that looks amazing once it has been refurbished only to deteriorate as soon as people sit on it.
To avoid cracks and lines in your furniture, you have to change things up.
By following some simple steps, you can keep the fabric soft and give older furniture new life with new colors, stencils, and other cool designs.
Done right, painting over older upholstery furniture is a fantastic way to hold on to sentimental pieces or save money by rehabbing secondhand furniture you buy.
Follow these steps to keep your furniture soft and have it looking great for longer.
Tip 1 – Cleaning Your Fabric Furniture Before Painting Will Keep Paint in Better Condition
Avoid the temptation to simply slap a fresh coat of paint on an older chair.
Painting done well takes time, precision, and patience.
If you want a good result, you’re going to need to put in the prep work to keep your paint looking amazing for years.
That means cleaning your fabric furniture before applying anything, including primer and paint.
Use a tower or scrub brush with warm water and a bit of soap and give your chair or couch a good scrubbing.
Get rid of any dirt, grime, and other debris that may have built up on the piece.
A cleaner fabric will help your paint stick to the furniture better and will prevent cracks from developing.

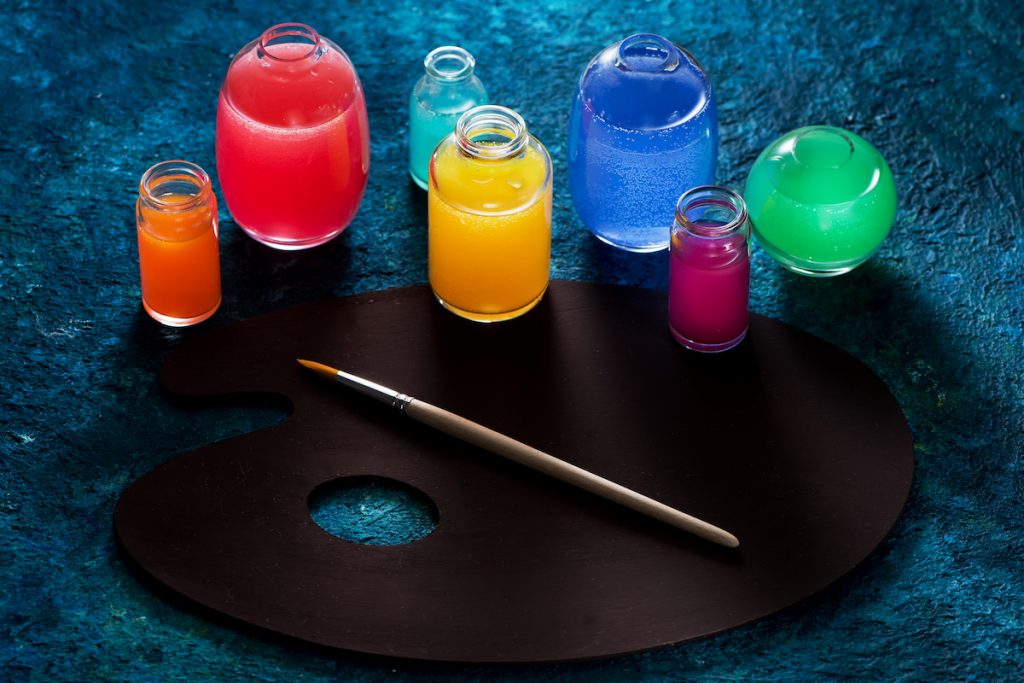
Tip 2 – The Best Furniture Makeovers Use Paint that is Diluted with Water
Makeover pros know how to spot interesting furniture pieces ideal for DIY makeovers.
You can find a lot of great pieces at consignment stores or on clearance. If you love the feel and look of the fabric, don’t let a bad color push you away!
To get started on your painting and to keep your fabric soft, start off with some high-quality paint diluted with equal parts water.
This will help the paint soak into the fabric better so it will keep its color for longer.
Before you start putting the paint on the fabric, first grab a spray bottle and fill it with water. Spray down the fabric and get it fairly saturated with the plain water.
Use your hands to rub it in to make sure it’s evenly soaked everywhere.
Once the whole piece of furniture is wet, then you can start applying the paint.

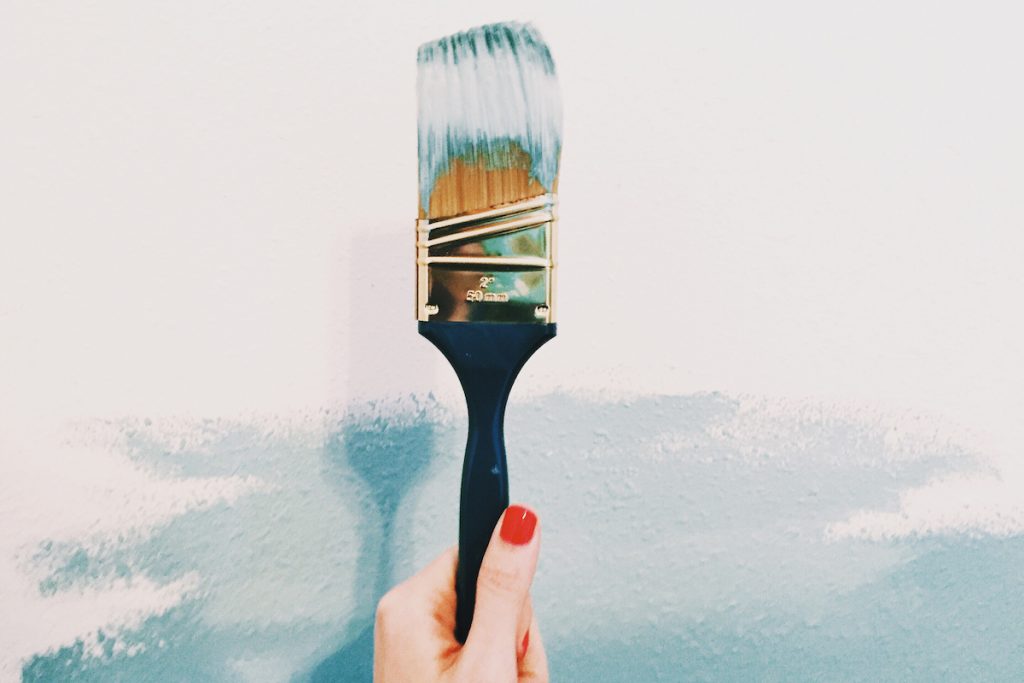
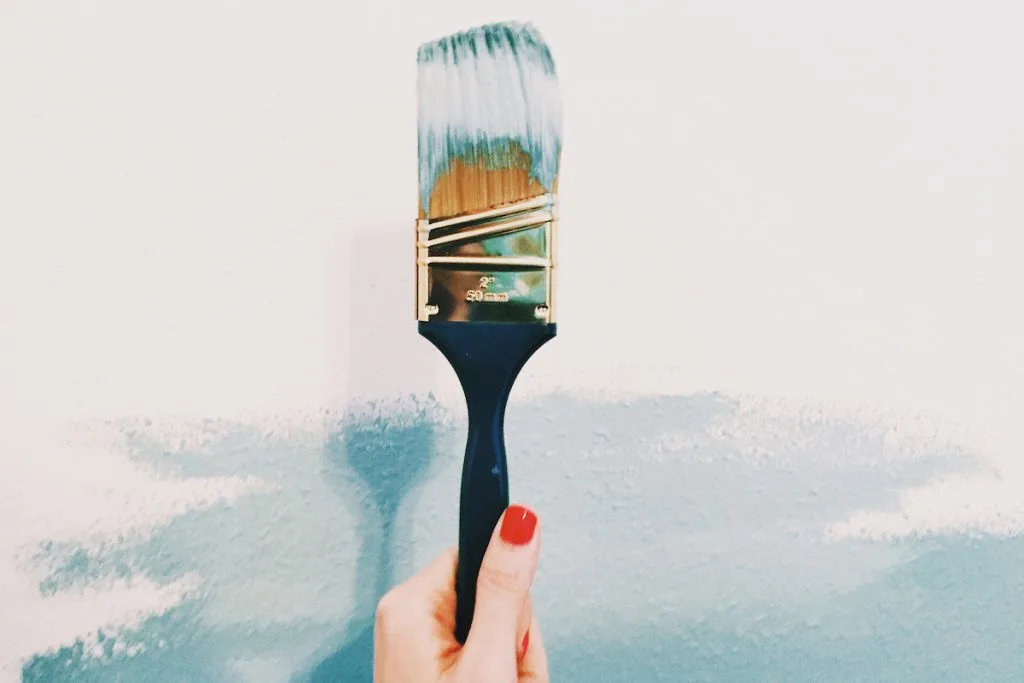
Tip 3 – Paintbrush and a Bit of Elbow Grease Required
Don’t skimp on your paintbrush.
Yes, you can find a cheap paintbrush at any home improvement store, but you’ll live to regret it.
You’ll have strands of the brush buried in your paint, it will get hard faster, and it won’t do as good a job spreading the paint over your fabric.
Grab a good brush and start spreading the paint in a small section of the furniture.
Coat it on fairly heavily. To make sure you can have a nice, even coat of paint, put on some gloves and use your hands to rub the paint into the fabric.
You can also use a sanding brush to go over the painted section a few times to get rid of any clumps and make sure that every pore in your fabric is filled with paint.
It’s important to go section by section soaking and painting because you don’t want to soak a part of the furniture and then paint over it while it’s dry.
Tip 4 – Pile On the Paint in Any Grooves
A lot of furniture has small creases and grooves in its patterns or folds.
Those can be hard to reach areas, and for whatever reason, many DIYers find that, once they’re done painting, there are some missed spots hidden inside the creases.
Don’t be afraid to go over the lines several times with your hands and your paintbrush to guarantee that you’re not missing any nooks and crannies.
Sometimes your entire piece of fabric furniture will require more than one coat of paint.
If necessary, go ahead and do it.
Tip 5 – A Final Sanding Will Make the Fabric Soft Again
Once you’ve got the color you’re going for, let it dry for a few hours.
Then, go back over the furniture with your sanding brush to look for any clumps or rough patches.
With a little muscle, you can scrub them out to keep the fabric nice and soft.
Tip 6 – Seal with Wax and Let the Furniture Cure for Months for the Best Final Results
After all of the rough patches are scrubbed off, it’s time to seal your furniture.
It’s going to take a few months for the fabric to cure, and applying a wax layer on top of the paint will protect it from being rubbed off by people sitting on it or anything else it comes in contact with.
Liquid Patina is a good product choice for wax sealing.
We recommend diluting the Patina with water as well. A good ratio is one part water to one part liquid patina.
Just like you did with the paint, make sure to get deep inside all the creases to apply a good wax seal.
Final Thoughts
By following these tips, you’re on your way to becoming an expert vintage DIYer and keep your newly painted fabric nice and soft.
Soon enough, you’ll be on the lookout for fabric furniture pieces that you can transform into something terrific.
Don’t be afraid to give a few pieces a try before you attempt something you’ll regret if it doesn’t turn out perfectly.
If you don’t have any candidates at home, take a quick trip to a local consignment store for something affordable to learn how it’s done!