
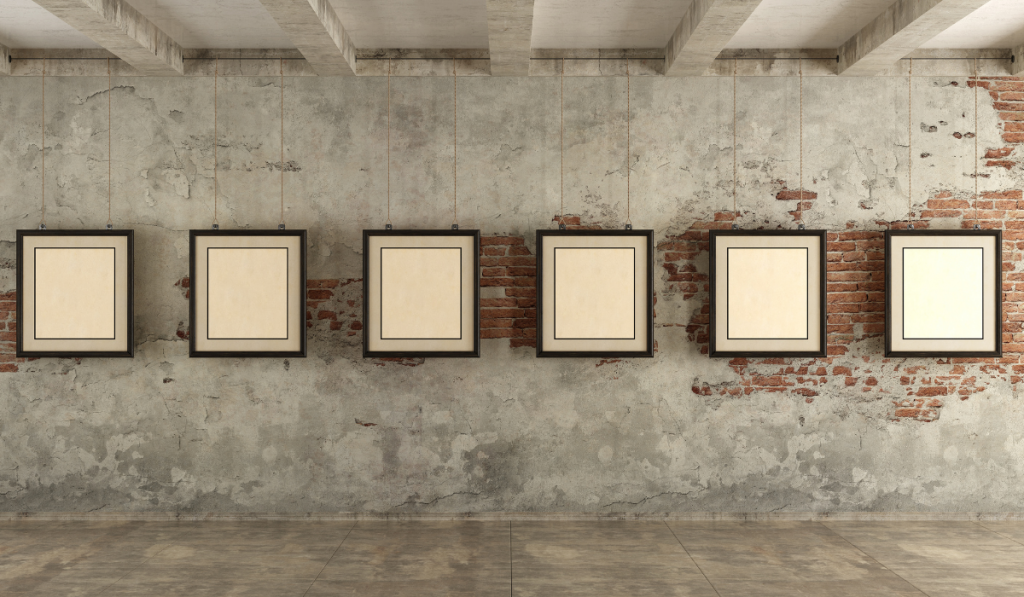
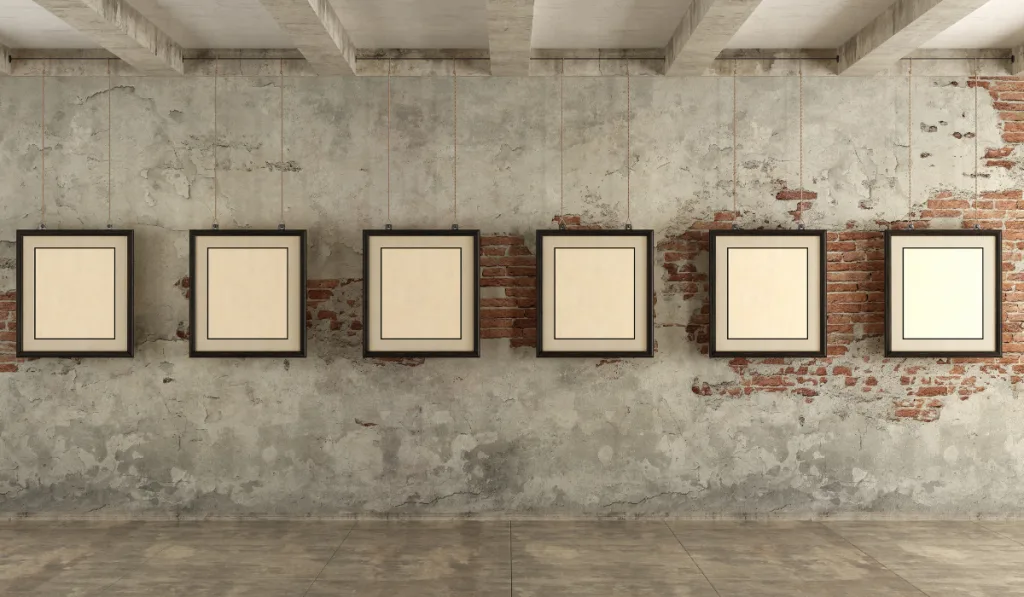
A symmetrical gallery wall can be one of your home’s most visually appealing additions. The view never fails to impress, and it is even better if the wall holds photographs with significant sentimental value.
If you have always wanted a symmetrical gallery wall in your home but are unsure how to go about it, you are in luck. This article offers a step-by-step guide on how to hang a symmetrical gallery. Read on for the details.


Resources You’ll Need
- Frames
- Wire cutters
- Picture hanging wire
- A hammer
- Monkey hooks (if there are no studs)
- Screws or nails (if you hit studs)
- Measuring tape
- Command Strips
- A level
- A pencil
- Painter’s tape
- A stud finder
- Scissors
How to Hang a Symmetrical Gallery Wall (Step-by-Step Guide)
Step 1: Come Up With a Plan
Before you start working on your symmetrical gallery wall, form a plan of what you want it to look like. You do not want to create holes in your wall and end up not liking the outcome.
Choosing the Area


While creating your plan, decide on the area of the gallery wall. You can choose to make the wall extend from the floor to the ceiling, or you can work with any area in between.
If you are uncertain of the area you want for your gallery wall, you can create a mock space with painter’s tape. If you like it, work with it.
In place of painter’s tape, you can also trace the gallery wall area with a pencil.
Deciding on the Frames
Once you know the area you want to place your gallery, you can decide which types of frames you want to buy.
Frames come in various sizes. The sizes of the frame you choose will depend on the size of the prints, the proposed area of the gallery wall, and the number of pictures you intend to hang.
When deciding on the sizes of the frames you want on your wall, ensure there is enough space for all the photographs you intend to hang.
Besides the frame size, decide on the style of frame you want. This largely depends on your inclinations.
Choose a frame style (or styles) that match the overall theme of your gallery wall. While at it, consider the cost of the frames as well.
Decide on the Color of Your Prints

You should also decide the color of your prints.
Do you want monochrome photographs on your gallery wall? Or are you OK with colored pictures?
Step 2: Create a Mock Symmetrical Gallery Wall
Before hanging the photographs on the wall, create a mock-up of what they will look like.
Creating a mock gallery will help ensure a high level of accuracy when you finally hang the pictures. It will also help you visualize the arrangement better.
To create a mock symmetrical gallery wall:
- Get a roll of kraft paper.
- Place each frame on the kraft paper and trace them.
- Cut out the tracing of each frame.
- Then tape the paper tracings to the wall in your desired arrangement. When taping the kraft paper to the wall, start in the middle. The kraft paper in the middle will serve as the anchor point from which you will space the other pieces.
- Ensure you space each mock frame evenly. If you don’t, the gallery will not be symmetrical; that defeats the point of everything. So, if you intend to leave two inches between each frame, work with two inches all the way through.
- If this mock arrangement suits your taste, work with it. But if it doesn’t, rearrange until you get your desired layout.
- Leave the kraft paper on the wall; you will need it for later steps.
Step 3: Prepare the Frames for the Wall

Prepare the frames for the wall once you have the layout you desire.
Place the Pictures in the Frames
If you do not already have pictures or artwork in the frames, do that now. You may even tape the pictures to the frame mats.
The mats will accentuate the photos and complement their flatness.
Prepare the Frames to Hang
Depending on the design, the hook at the back of the frames may not suit the orientation you want for your photos. If this is the case, you’ll have to prepare the frames by attaching picture-hanging wire to them.
If you want a portrait layout:
- Run the wire through the eyelets of the hooks on the shorter side of the frame.
- Ensure the wire extends through each eyelet by around one inch.
- Then tie the wire to each eyelet.

If you want a landscape layout:
- Run the wire through the hooks’ eyelets on the frame’s longer side.
- Ensure the wire extends through each eyelet by around one inch.
- Then tie the wire to each eyelet.
One advantage of using picture-hanging wire is the flexibility of adjusting the frame later.
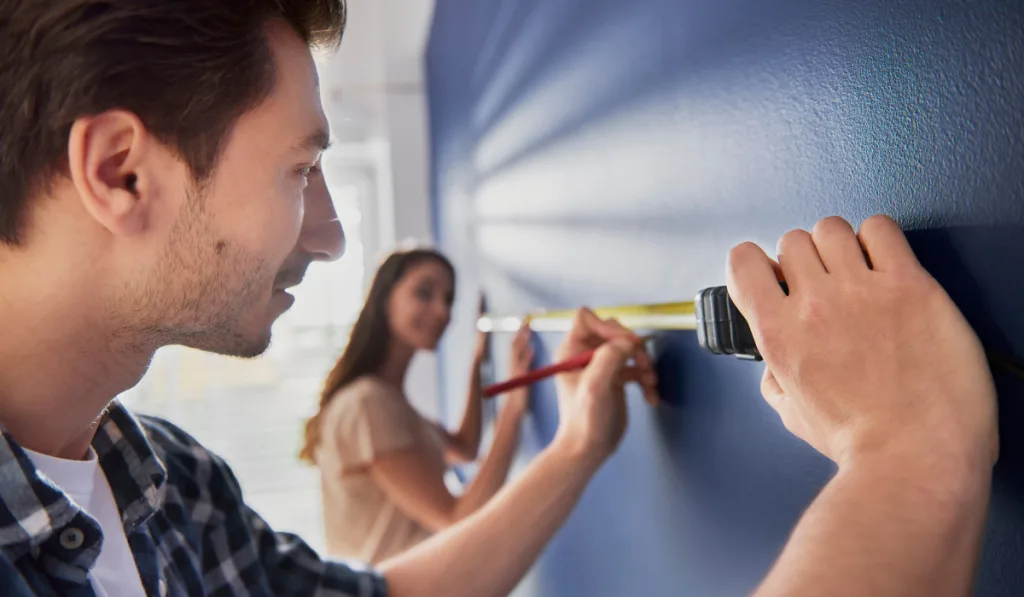
Step 4: Measure the Frames for Hanging
Once the frames are ready for hanging, you must take some measurements to ensure you get a symmetrical layout.
Measure the Distance of the Hanging Wire From the Top of Each Frame
Before you set out to hang the frames, measure the distance of the hanging wire from the top of each picture frame. Doing this ensures the wire does not show above the frame when you hang it on the wall.
When measuring the distance of the wire from the top of the frame, pull the wire tightly. This way, you can replicate the tension in the wire when you finally hang it.
Once you determine the distance of the wire from the top of the frame, mark that distance on the corresponding kraft paper that you taped to the wall.
For instance, if the distance of the wire from the top of one of the frames is one inch, mark one inch from the top of the corresponding kraft paper.
Then insert the hook at the one-inch mark on the kraft paper. Of course, this hook is where the frame will hang from.
Repeat these steps for all of the frames.
After completing all the steps above, hang the frames.
Step 5: Secure the Frames with Command Strips
After hanging all the frames and confirming that they are symmetrical, secure them with Command Strips.
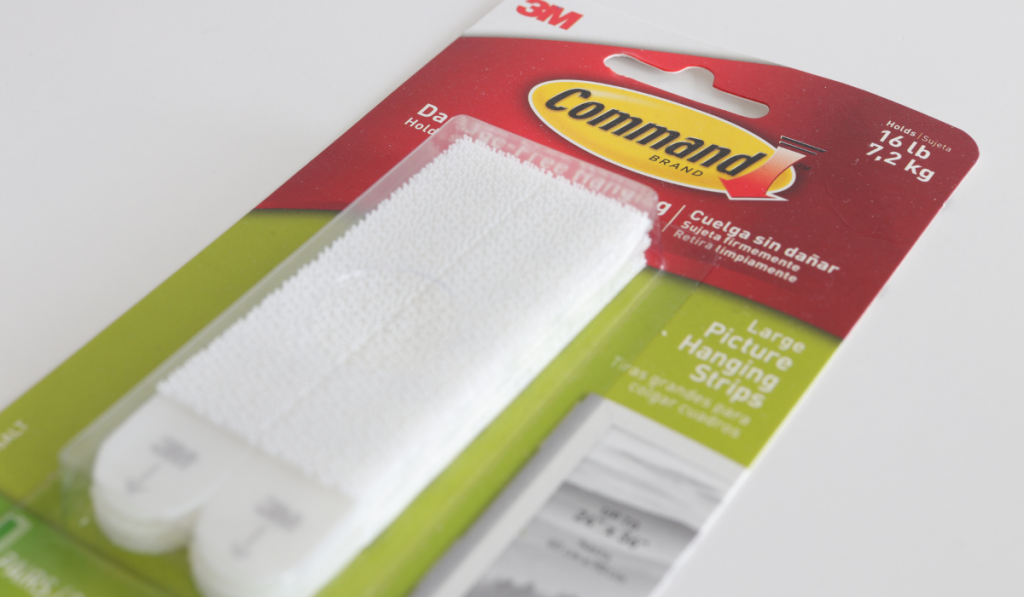
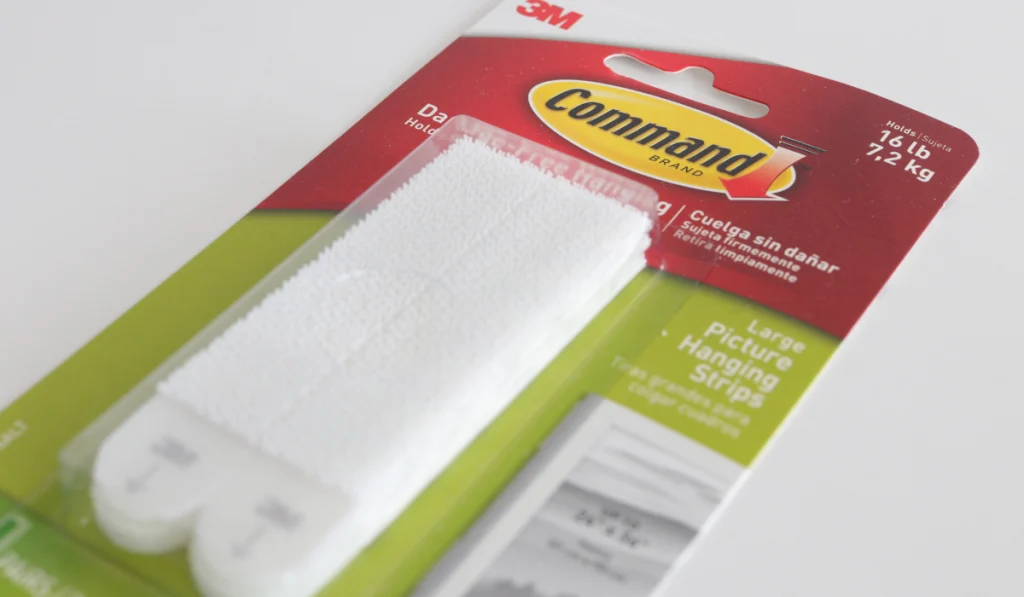
The hanging wires do not anchor the frames well enough; the frames can readily shift when you walk past them.
So, to ensure the frames stay in place every time, attach Command Strips to the top and bottom of each frame (or just the bottom, if the top of the frame doesn’t touch the wall).
With the Command Strips in place, the frames will always stay in place, maintaining the desired symmetry. Also, there will be no damage to your wall.
Step 6: Add Some Final Details


After hanging the frames, try cleaning them and the wall.
You could spray some window cleaner on the frames and wipe them gently to remove fingerprints. Then for the walls, you could wipe any mark or spot with a wet sponge.
After cleaning the frame and the wall, check once more to confirm that each frame is level.
Should Gallery Walls Be Symmetrical?
Gallery walls do not necessarily have to be symmetrical. You can fill your gallery wall with frames of different sizes and shapes if you want. The most important thing is that you create an appealing style.
You do not necessarily have to use frames of the same size and shape even when you want to create a balanced gallery wall. For instance, if you have some small frames with similar shapes, you could group them on the wall.
You may then arrange the other frames of larger sizes and different shapes around the first group.
The ultimate goal with gallery walls is aesthetics. You can achieve this with or without symmetry, depending on what you want.

How Far Apart Should I Hang Frames?
The space between your frames will depend on the area of your gallery wall and the size of the frames. But generally, you can work towards leaving two to four inches between each frame.
But work with the same distance throughout the gallery wall. So, if you leave two inches between two frames, you should not switch to one-and-a-half inches with other frames on the same gallery wall.
Whatever you do, you want to avoid leaving too much space between the frames. If you do, you may not like the results.
Are Gallery Walls Out of Date?
Gallery walls are not out of style.
Indeed, some people favor oversize paintings and large-scale prints over gallery walls. However, gallery walls are still trendy and timeless when done correctly. They are a classic way of displaying pictures and artwork.
When creating gallery walls, less is more. Do not try to overfill the space, or else you will lose the visual appeal you desire.
Resources
- https://sammyonstate.com/2019/03/07/how-to-hang-a-symmetrical-gallery-wall/
- https://shegaveitago.com/5-steps-to-make-a-symmetrical-gallery-wall/
- https://thediyplaybook.com/tips-hang-symmetrical-gallery-wall-hallway/
- https://simplyframed.com/blogs/blog/picture-frame-mat-vs-no-mat
- https://www.apartmenttherapy.com/gallery-wall-art-hanging-mistakes-265552
- https://www.jenndispirito.com/photograph-spacing/
- https://boxwoodavenue.com/gallery-walls/
- https://www.housebeautiful.com/design-inspiration/g26143306/are-gallery-walls-over/