
Painting chairs and other furniture is a fantastic way to breathe new life into older items.
Sometimes we love a chair’s shape or it carries sentimental value, but it just doesn’t quite fit with a color scheme or design aesthetic.
Don’t throw away your old chair. Instead, you can paint it a new color to bring it into the modern design era and add to your home or office’s overall look and feel.


Whether you’re thinking about how you can change an older chair you’ve had for years or recently found a potential gem while out shopping, there are rules you should follow once you’ve decided to paint something.
Let’s take a look at some guidelines to make sure you get the best results!
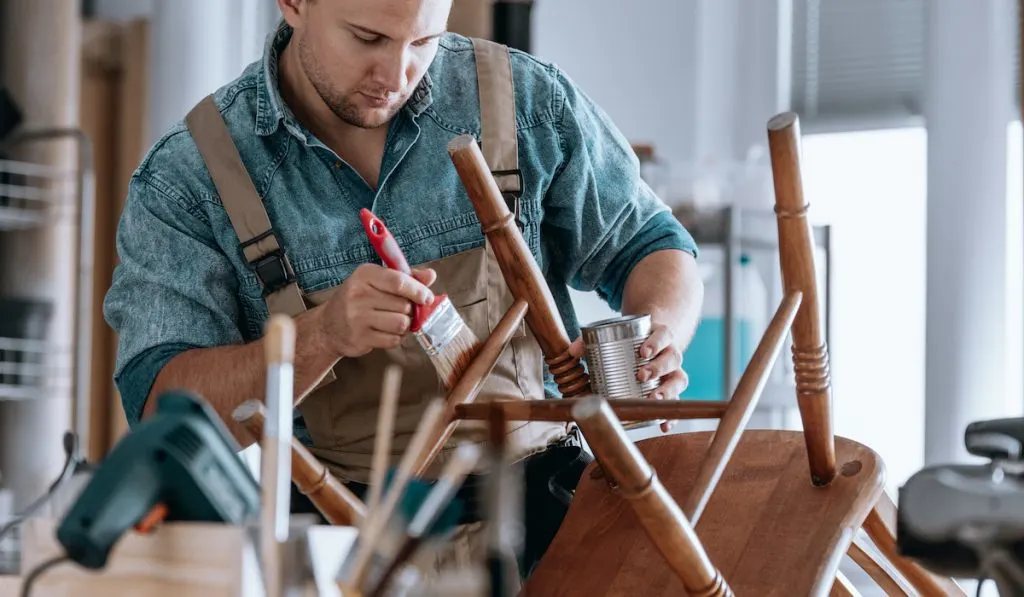
The Painting Basics
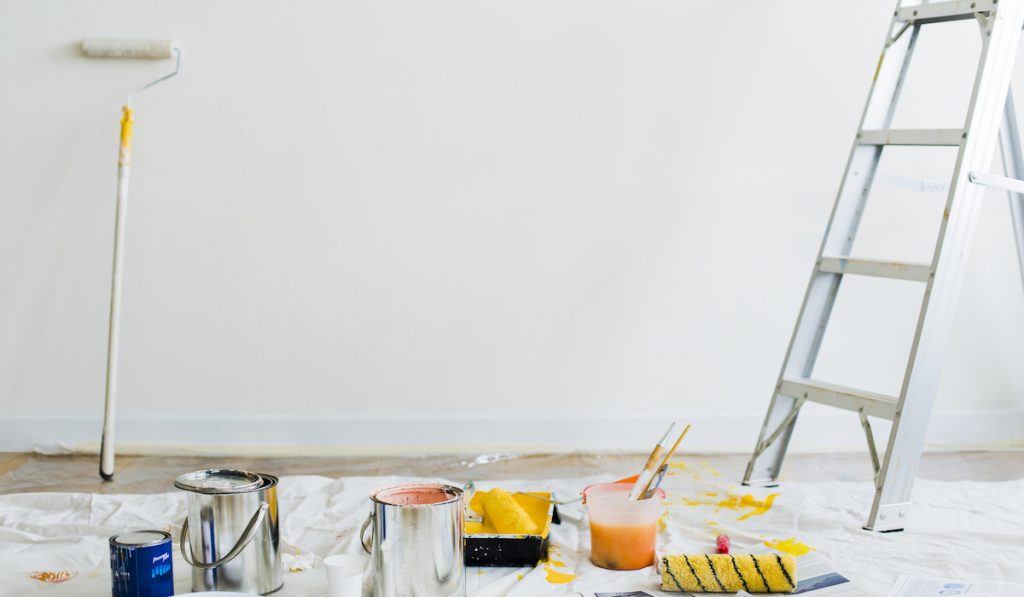
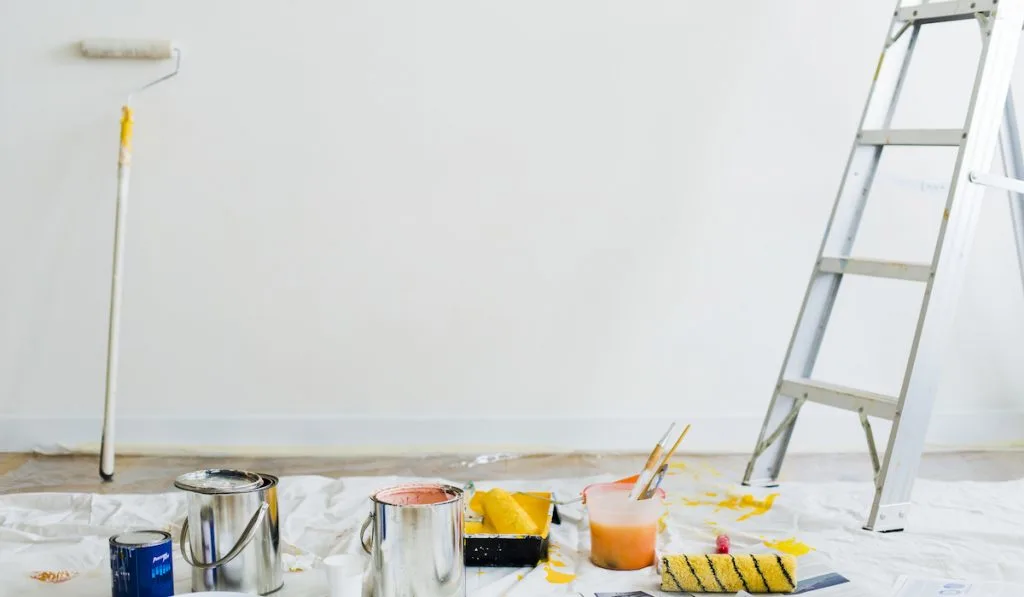
First, let’s cover our bases when it comes to painting anything.
Painting, especially if you’re doing it at home, should be done with care to make sure you only paint where you want to and cleanup is a breeze.
Here are some painting steps to live by:
- Use a Drop Cloth – We can’t count how many times people just caught a feeling and started painting without proper preparations.
As a result, paint gets on tables, chairs, carpets, and floors. Keep things tidy with a drop cloth in the area where you want to paint.
Cleaning up will be a lot faster and it will help you avoid droplets on other items or surfaces.
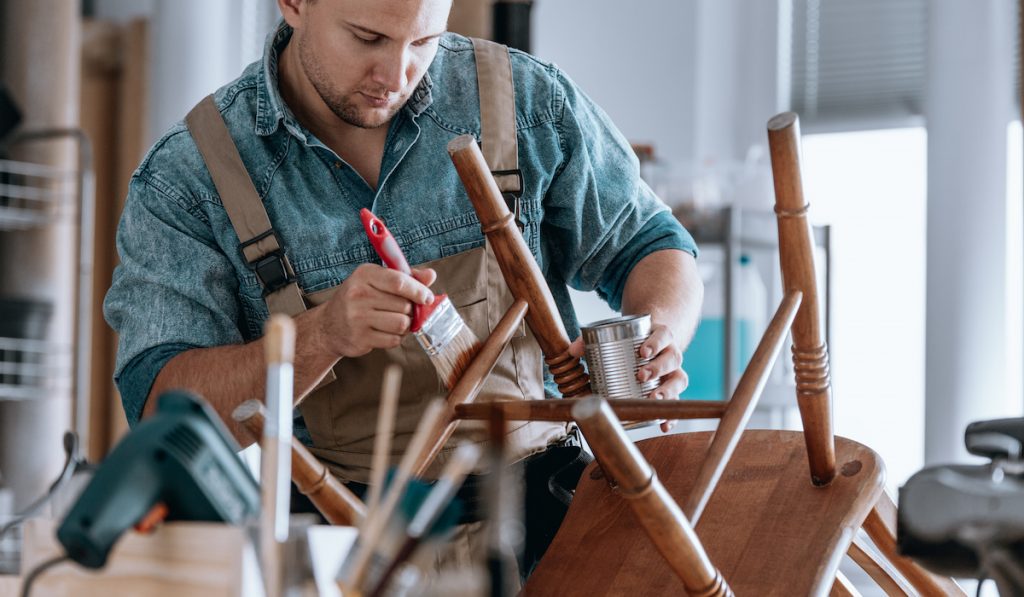
- Remove Any Old Paint – Yes, you can paint over another layer of paint, but it’s not ideal for the long-term.
Put in a bit of extra legwork and remove older paint as much as possible.
You should pay particular attention to any bubbles or peeling paint that will affect how it will look once you’re through.
- Give the Chair a Good Clean – If you have dirt, too much dust, and any other grime on the surface you’re painting, it could lead to paint peeling or bubbling down the road.
Give the chair a good thorough cleaning before applying paint to make sure you’re painting on a smooth surface.
- Wood Putty Is Your Friend – A lot of older chairs, the kind you want to hold on to anyway, often need some repairs to their frame to last years longer.
Wood putty is a great tool you can use to fix cracks, holes, and any other blemishes.
- Add Primer – It’s a good idea to use a semi-gloss or satin primer when your paint is oil-based or latex.
Don’t make a rookie mistake of thinking primer is paint. You add the primer, let it dry, and then paint over it with your desired color.
Primer needs to match the kind of paint you’re using. When in doubt, ask for help in your local home improvement store.
They can point you in the right direction.

- Brushes Matter – Yes, you can run to your local store and buy a cheap paintbrush for less than a dollar.
Is it a good idea? Probably not. The quality of your paintbrush matters, and it’ll show up in the finished product.
A better brush will paint evenly and give you a nice and smooth coat of thick paint.
Cheaper brushes lose strands that stick in your paint and will make your chair look low-quality.
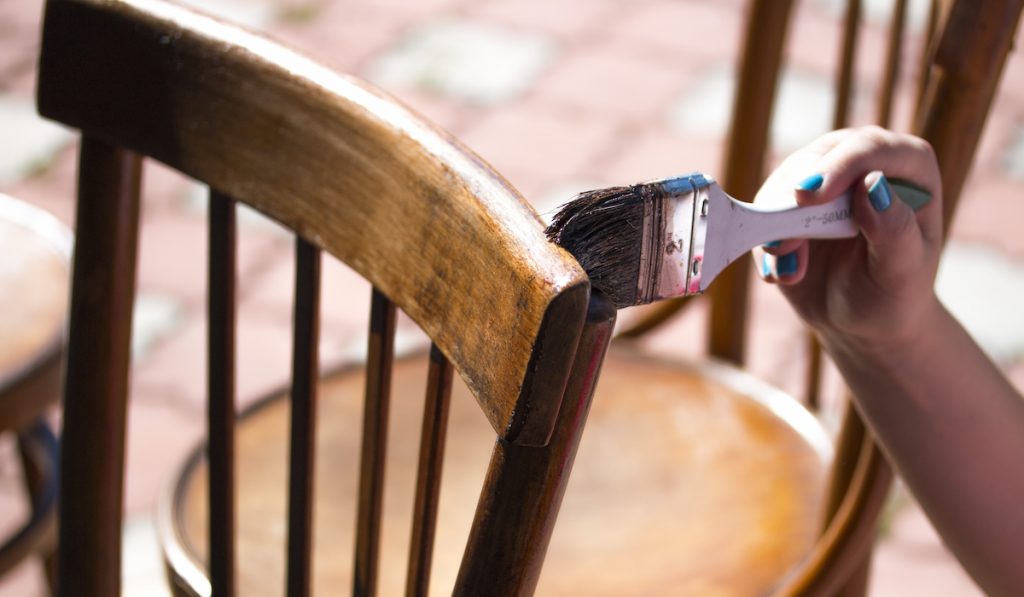
- Paint with the Wood Grain – One thing to remember when you’re painting over any wooden portions of your chair is to go with the grain with your brush and not against it.
Going with the grain will keep things nice and tidy and still reveal those lovely ridges in wooden furniture that will make your newly painted chair a classic.
Things to Know When Painting an Upholstered Chair
Painting wood and other materials is relatively simple, but did you know that you can also paint upholstery?
A lot of people are surprised to find out that they can paint a loved chair or a couch a new color.
For years, interior designers and home design DIYers have been showcasing some amazing upholstery designs done with paint.
Here are some tips to make your chair upholstery painting a success.
- Dilute Your Paint with Water – By diluting your paint, you make it easier for the upholstery to soak it in and fill in that rich new color you’re looking for.
Some people recommend going with a half and half ratio of paint to water - Add Some Textile Medium – You can buy textile medium online pretty easily, and it will help your paint penetrate fabric fiber and make the color stay permanently.
It also will stop your paint from bleeding further than you want it to.
That’s important when you are painting a design or vertical surfaces. It dries on fabric with no cracking and has no odor. - Explore Design Stencils – Many people have success with stencils on upholstery chairs.
They’ll give your chair a fantastic, unique design that makes it an accent piece in a living room or a fun chair for the kids’ room. - Add Multiple Coats – It’s probably going to require multiple coats of paint to get the color penetration that you’re going for.
Be patient and take your time, it will be worth it in the end. - Finally, Add Way Coating – Buff in a light way to soften your fabric after painting so many coats on it.
You’ll likely find that if you leave the paint on only, your chair will be a bit stiff and could lead to cracking in your paint.
Final Thoughts
These are just some tips to make painting a chair a raving success!
Have fun with the process, and if you’re worried about messing up, you can always take a trip down to a second-hand store and buy an old chair to experiment on.
It’s a great way to give painting a chair a dry run without consequences.
Who knows, you just may end up loving that chair as well!