
Chair rails have been around forever. Homes use them to add a bit of style and a classic look to walls. It helps break up space and put some flavor into your home or office. Its original purpose was to stop chairs from knocking into walls and leaving marks or dents.
Chair rails, especially if you’re in a tight space or have kids, keep your wall in better condition for longer. It also highlights a beautiful color and makes the entire room feel more upscale.
If you’re inclined, installing chair rails in your home is a great DIY project. If they’re there already, you can paint them to cover up and ding marks from chairs and other furniture.
Done right, the fresh paint on a chair rail will breathe new life into your living space.
Chair rail painting can be hired out to a professional contractor, certainly, but it also can be done at home on the weekend or whenever else you have spare time.
We’ve put together a list of 7 steps to help you find the easiest way to paint a chair rail.
Let’s take a look!
Step 1 – Choose Your Color Wisely
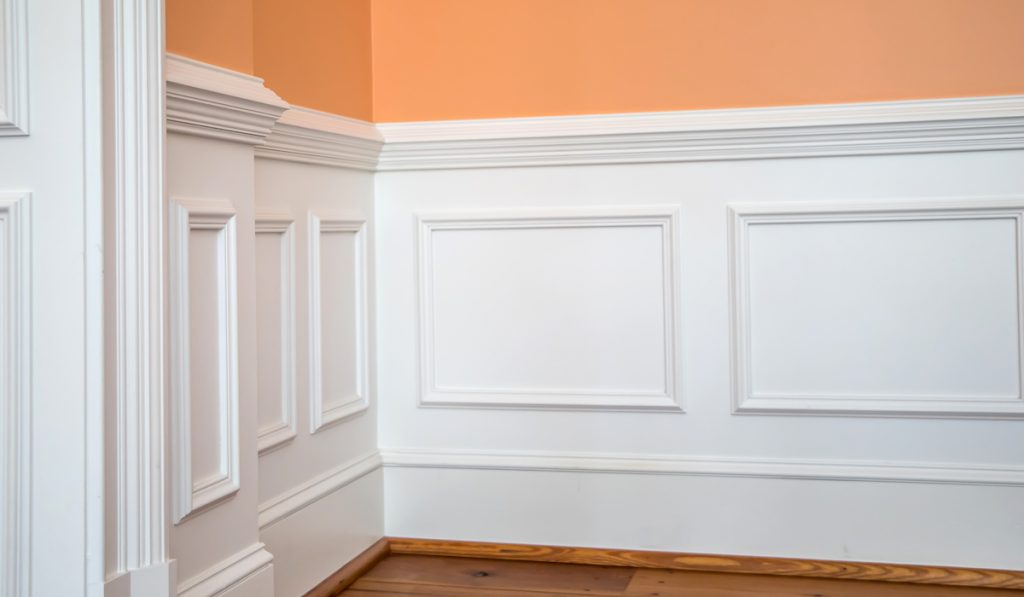
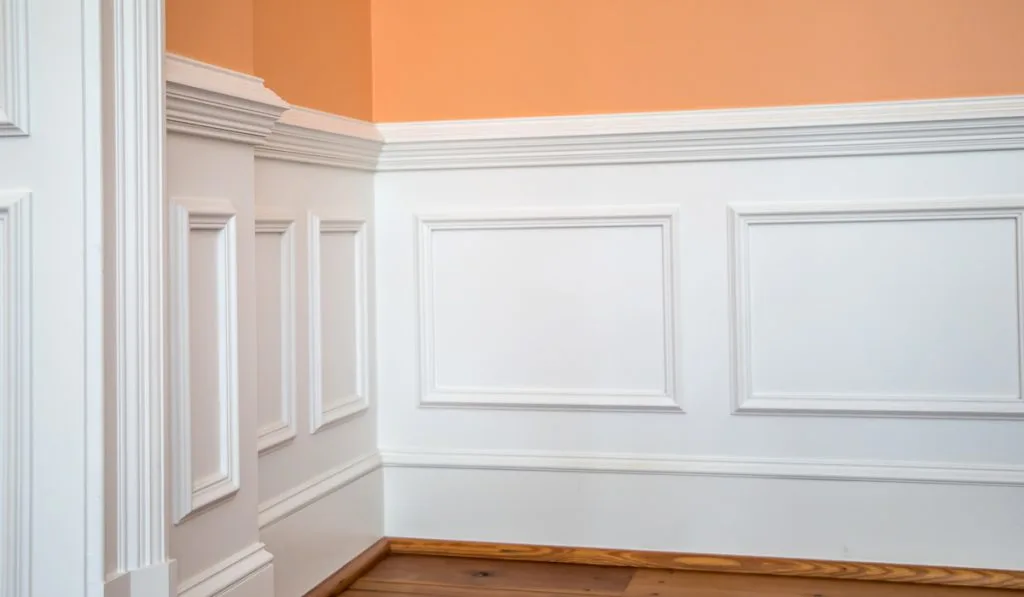
Most chair rails are white. It’s the go-to color for rails, crown moldings, and other wall accents. People like white because it accentuates the other colors in the room.
White chair rails deliver an upscale look if that’s what you’re going for.
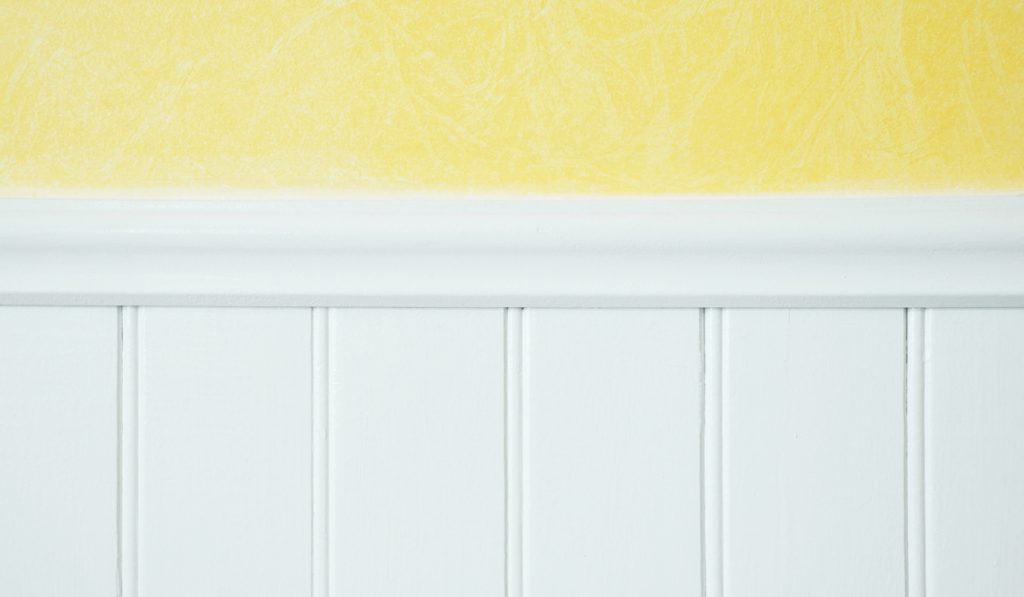
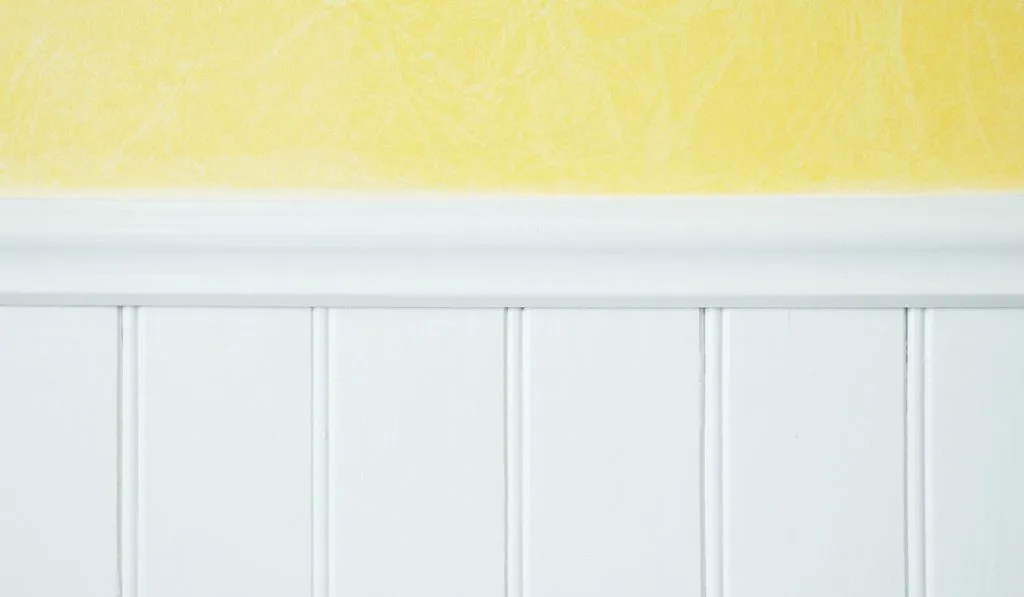
However, a lot of interior designers have been thinking out of the box when it comes to their approach to chair rail paint colors.
They paint them to match the gray or blue of the entire wall or a shade off of whatever the wall color paint is for a bit of contrast.
Whatever you decide to go for, buy some paint samples and, in an inconspicuous spot, paint it onto a small section of your chair rail. It will give you a good idea of what it will look like. Don’t just buy paint and do the whole thing without testing it first.
You can also look online to find inspiration on what color you want for the rails.
Check out popular interior design magazines and websites to see what’s out there. When you’ve got your color chosen, head to the home improvement store and get some paint.
Step 2 – Protect Your Floors & Furniture with Drop Cloths and Tape
Homeowners need to be careful anytime paint is involved. Don’t make the mistake of thinking it’s a small project so you won’t need to tape things off. That’s a fast road to paint on carpets and mistakes on walls.
Place drop cloths in the area where you’re painting. Tape off the chair rail so you don’t bleed into the flat section of your wall.
Step 3 – Sanding Down Your Chair Rail Before Your Paint
A lot of homeowners miss this step and they live to regret it. You need to sand down the chair rail before you apply the new paint. This will give your chair rail a nice, even coat of paint.
Odds are your chair rail, if you’ve lived in the home for a while, has dings and chipped paint on it.
If you paint over it without sanding, there are going to be divots and holes in the new coat of paint. It may look ok from a distance, but up close the mistakes will be obvious.
Buy some sandpaper from your local home improvement store and use some elbow grease to sand down the chair rail before you paint.
Step 4 – Use Wood Putty if Necessary
If your chair rail has chunks missing or holes from nails or other blemishes, use wood putty to fill them up. It will take a while for the wood putty to dry and it will need to be sanded down once it does.
Make sure the surface is smooth and, when it is, you’re ready to paint!
Step 5 – Getting the Paint Ready
Paint, particularly if it’s been sitting in the can for a while, needs to be mixed thoroughly before it’s applied to any surface.
You can purchase mixing sticks for a very affordable price anywhere paint is sold. Most stores will give them away.
Mix the paint several times every time you open the can. To make painting easier, pour a bit of paint into a small cup or some other small container instead of carrying around the entire can with you as you go.
That can get tiring rather quickly and save your arm muscle the strain of holding a heavy can for hours.
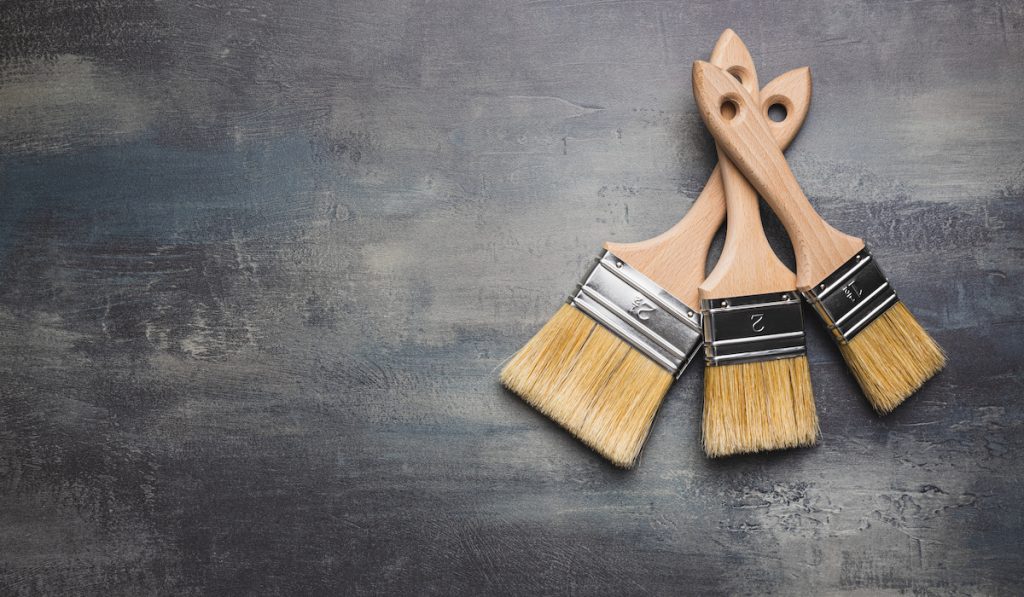
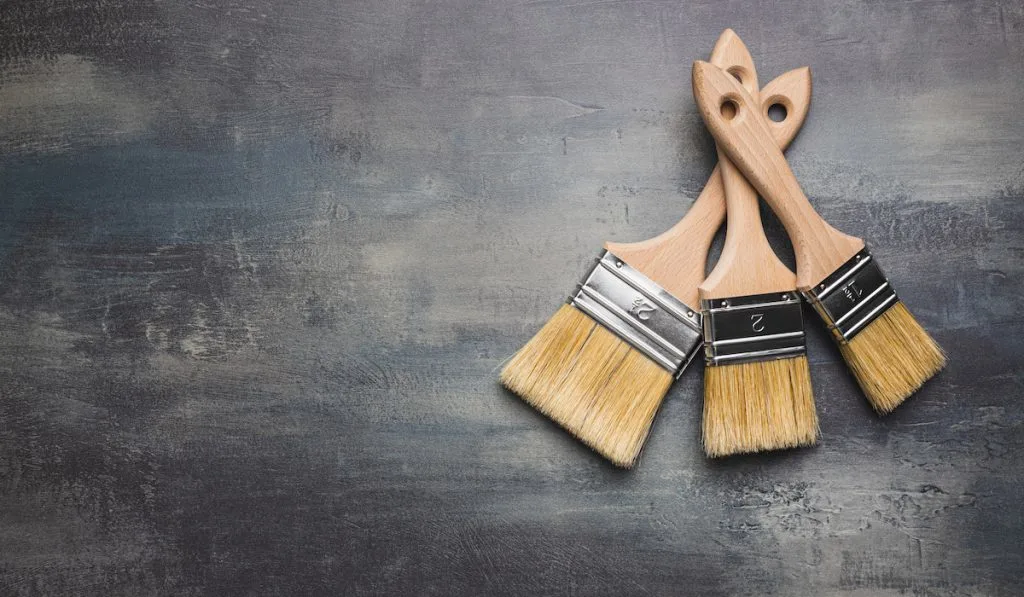
Step 6 – Make Sure to Use the Right Brush
Picking the right brush is critical to any chair rail painting project. Buy a high-quality brush and be sure to find one that can be used with the type of paint you’re using. Most chair rails do best with a 2-inch brush.
When you’re painting with the brush, do your best to paint horizontally and move along the chair rail in one direction.
If you’re sloppy with the brush strokes, it will show once the paint dries. Moving in the same direction along the entire chair rail will give it a smoother look and feel.
Every time you dip the brush in the paint can or whatever type of paint container you’re using, make sure to wipe off any excess paint. This will help you avoid dripping paint lines and streaks on the chair rail.
You may need to do more than one coat to get the richness of color you want.
You need to wait several hours to see how the paint is drying to get a good idea of how it will look when it’s finished. Most chair rails will do well with two coats of high-quality paint.
Step 7 – Remove the Tape & Clean Up
Let the paint sit for a full day and then you should be good to go. You can peel away the tape and remove the drop cloths and appreciate the final product!